Avoid Overfill: 3 Sharps Container Sizes for Procurement Teams
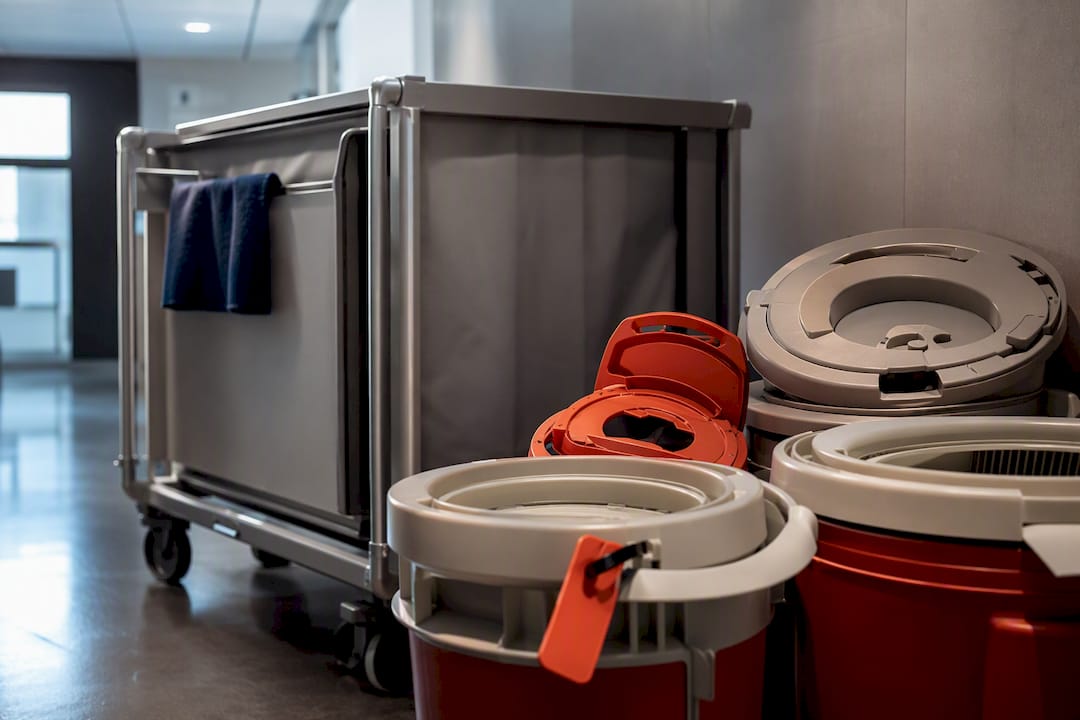
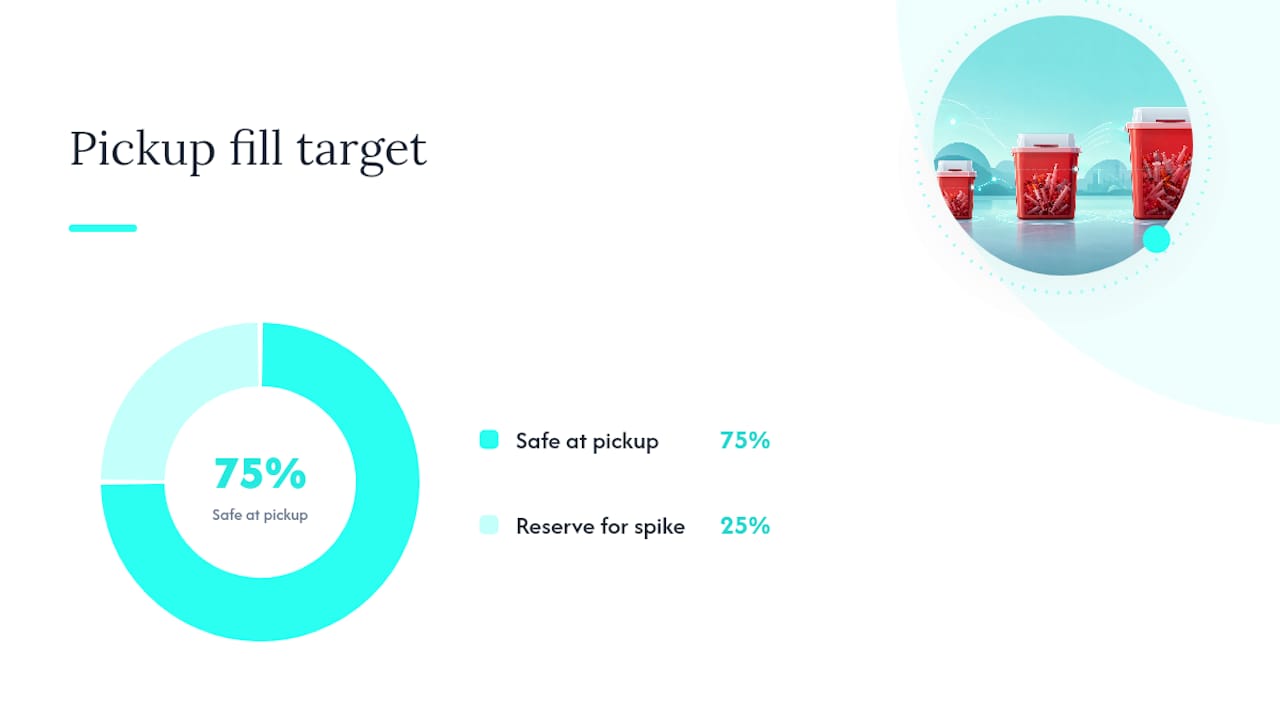
Most clinical settings use small, medium, and large sharps container size classes corresponding to typical workloads and clinical uses, with small containers suited for exam rooms and phlebotomy carts, medium containers for treatment areas, and large containers for high-volume wards and surgical suites. The rule that governs all of them is the same: swap the container when it hits about three-quarters full per FDA guidance, and choose FDA-cleared models that meet OSHA’s performance standards.
TL;DR:
Choosing container size should be based on specific station throughput, device size, and refill frequency rather than available space alone.
OSHA and FDA require containers to be closable, puncture-resistant, leakproof, and properly labeled, with size remaining a site-specific decision.
The ideal size matches daily sharps volume to prevent overfilling and reduce handling risks, with capacity calculated for worst-case spikes.
Opening style should fit the device type and usage, with smaller slots for needles and larger openings for bulkier devices, to enhance safety and compliance.
Accurate procurement involves verifying FDA clearance, proper capacity, mounting hardware, and transport compliance to avoid staff mishandling and supply mismatches.
Table of Contents
What Are the Standard Sharps Container Sizes?
Sharps disposal container sizes break down into three working tiers, and each one maps to a specific clinical rhythm rather than an arbitrary volume.
Small containers (under 4 quarts) handle low-volume, high-frequency settings. A 1 quart or 1.5 quart container fits a phlebotomy cart, a single exam room, or a home-health bag. These are compact enough to mount on a wall bracket beside a single chair and get swapped out often, sometimes daily in a busy draw station.
Medium containers (5 quarts to 2 gallons) are the workhorses of most ambulatory clinics and dental offices. A 1 gallon or 2 gallon container usually sits on a counter or wall mount and serves a room that generates a steady but moderate stream of needles, lancets, and syringes. Dental operatories often land here because they generate a mix of needles and small blades but don’t turn over sharps at hospital speed.
Large containers (2 to 8 gallons, and 8+ gallon options) belong in hospital wards, operating rooms, and any area with multiple stations feeding into one disposal point. An 8 gallon or larger container can serve a nursing unit for several days without approaching the fill line, which cuts down on how often staff have to handle a full container.
A few things to weigh beyond raw capacity:
Footprint matters as much as volume. A 2 gallon container with a wide base takes up more counter space than a taller, narrower design of the same capacity.
Wall-mounted units free up counter and floor space in tight exam rooms, but they need a stud or anchor point that can bear the weight of a full container.
Floor-standing units make sense in ORs and procedure rooms where staff need to dispose of larger devices, like biopsy needles or suture sets, without reaching up.
Throughput drives the size choice more than room size does. A small phlebotomy room with constant patient turnover may need a bigger container than a larger exam room used only occasionally for minor procedures.
The mismatch to avoid is picking a size based on available counter space rather than expected volume. A container that looks right on the shelf but fills in six hours creates more handling risk than a slightly larger one that lasts a full shift.
What Regulations Govern Sharps Container Design and Size?
Size selection isn’t just a workflow question. It’s constrained by federal rules that dictate what a compliant container has to do, regardless of how big it is.
Under OSHA’s Bloodborne Pathogens Standard, 29 CFR 1910.1030, every sharps container in a professional setting must be:
Closable, so it can be sealed before removal or transport
Puncture-resistant on all sides and the bottom
Leakproof on the sides and bottom during handling
Labeled or color-coded to identify it as biohazard waste
Kept upright during use to prevent spills and sharps sliding toward the opening
None of these requirements specify a size. That’s deliberate. OSHA and NIOSH guidance treat container dimensions as a site-specific decision, not a one-size mandate, because a phlebotomy cart and a surgical suite have entirely different sharps profiles.
The FDA adds a device-level layer on top of that. It recommends healthcare facilities use FDA-cleared containers cleared through the 510(k) process, because those units have documented structural integrity testing behind them. Consumer-grade bins sold for home use don’t carry that clearance and aren’t built for the volume or sharpness profile of a clinical environment.
A 5-quart container and a 20-gallon container follow the identical rule; only the calendar math around how often that point gets hit changes.
DOT rules also come into play once a full container leaves the building. If there’s any chance of leakage during transport, it needs a secondary container, and the outer packaging has to carry proper hazard labeling for the trip to a waste vendor or treatment facility.
How Do You Choose the Right Sharps Container Size for a Workstation?
Picking a size isn’t guesswork. It’s a short analysis of what a station actually produces and how fast it fills.
Measure your largest device. If blood draws happen at the station, the opening must accept the entire needle-and-tube-holder assembly without staff having to disassemble it first. This is a documented OSHA compliance issue when openings are too narrow.
Estimate sharps volume per shift. Count needles, lancets, and syringes generated in a typical day at that specific station, not a facility average.
Match capacity to pickup or replacement frequency. If waste pickup happens weekly, size the container so average daily volume doesn’t push it past the three-quarter line before day seven.
Check staff movement patterns. A station where staff move between rooms needs either a container mounted at the point of use or a compact, portable option they can bring with them.
Confirm mounting and clearance. Verify the space has room for the bracket, cart, or floor footprint the chosen size requires.
Watch for these red flags once a container is in service: staff repeatedly opening the full lid to force in a device (a sign the opening is wrong for the size), sharps visibly piled near the rim before scheduled pickup, or a container that’s been in place so long nobody remembers the last swap date. Any of these point to a capacity or turnover mismatch, not a staff training problem.
Pro Tip: Run the math on your worst day, not your average day. A station that spikes on Mondays needs capacity for Monday, or it will overflow before the next scheduled pickup.
Which Lid and Opening Styles Fit Different Container Sizes?
Opening design matters as much as capacity, and it’s where a lot of compliance problems actually originate.
Slot openings work well on smaller containers meant for needles and syringes only. They limit hand access, which reduces the chance of an accidental stick during disposal. Large top or funnel openings suit bigger containers in ORs and procedure rooms where bulkier devices, like biopsy needles or scalpel assemblies, need to drop in without maneuvering. Flip-top lids offer a middle ground for medium containers in busy treatment rooms where speed matters. Screw-top or locking lids are standard on containers destined for transport, since they need to stay sealed through handling.
A few operational habits apply across every size:
Keep containers upright at all times, never on their side or lid-up on a cart.
Close the lid fully before moving or transporting any container.
Avoid recapping needles; if a specific procedure requires it, use a mechanical recapping device or a one-handed scoop technique per CDC guidance.
In behavioral health units or public-facing areas, secure containers with locking brackets or place them in access-controlled carts.
If there’s any risk of leakage during transport, place the sealed container inside a labeled secondary containment bag before it leaves the unit.
What Should Procurement Teams Check Before Ordering Sharps Containers?
Before placing a bulk order, run through a short checklist:
Confirm the container is FDA-cleared, not a consumer-grade substitute.
Verify the opening accepts your largest device assembly without forcing or disassembly.
Match capacity to turnover. Oversizing wastes floor space and budget; undersizing drives up handling frequency and needlestick risk.
Order the mounting hardware (brackets, carts) that fits your room layout, not just the container itself.
Confirm DOT-compliant transport options and secondary containment are on hand for full units.
Stock labeling supplies for chain-of-custody documentation during pickup and transport.
Queenssurgical supplies the secondary containment bags and labeling sheets that round out this checklist, alongside core consumables clinics order alongside sharps supplies. One more step: state medical-waste rules vary, so confirm your facility’s requirements sit on top of the federal baseline before finalizing an order.
What Procurement Teams Get Wrong About Sharps Container Sizing
The most common mistake isn’t picking the wrong size outright. It’s picking a size based on what fits the counter instead of what matches actual throughput, then wondering why staff are jamming devices into an opening that’s too small. Three fixes solve most of this: match the opening to your largest device assembly, set pickup or swap frequency so volume never crosses that three-quarter line, and train staff on one-handed handling before a new container ever ships. Queenssurgical stocks the range needed to fix a mismatch fast.
— QB
Where to Verify Sharps Container Rules and Guidance
For the primary rules and updates, go straight to the source:
OSHA Bloodborne Pathogens Standard: the core performance requirements for closable, puncture-resistant, leakproof containers.
FDA sharps disposal guidance: device clearance standards and the three-quarter fill rule.
CDC sharps safety for healthcare personnel: operational best practices and training resources.
Check your state health department for any additional medical-waste handling rules beyond the federal baseline.
Stock the Right Sharps Containers Without the Guesswork
Queenssurgical carries the container sizes, PPE, and secondary supplies clinics need to close the gap between what’s on the shelf and what a station actually requires, at wholesale pricing built for clinics ordering on a schedule rather than one bin at a time.
If your team is already juggling isolation gowns, barrier sleeves, and disposal supplies across multiple stations, the value shows up fastest when you order them together instead of chasing separate vendors for each category. Queenssurgical’s catalog covers that full loop, from the CPE thumb loop isolation gown your staff wears during sharps handling to the BP cuff barrier sleeves used in the same rooms. Browse the current catalog and place a standing order sized to your actual turnover, not a guess.
This article is general information, not a substitute for advice from a qualified doctor. Consult a qualified healthcare professional about your own circumstances before acting on anything here.
Sources
Recommended
Comments